Tutorial - WebGL game with Libgdx (part 1)
This tutorial cover the following use case : “I want to deploy a HTML5/WebGL game to the web and I have no money”
In this tutorial, you will learn how to create a libgdx game from scratch and deploy it as a static web application to github pages. For the sake of simplicity, we won’t code a game but just use the default game generated by libgdx. How to develop games with libgdx is beyond the scope of this tutorial. Purpose of this tutorial mainly is the deployment process. Like other MGSX tutorials, we’re assuming you’re developing on a linux/ubuntu environement but it could easily adapted to other OS.
Deploy the wait page
Since your players don’t like to wait, we will first deploy a temporary web page for your game. If you don’t have a github account yet you need to Create a github account first. Then create a repository for the game, for instance “html5-game-tutorial” and copy the repository link. Command lines in this tutorial use git@github.com:mgsx-dev/html5-game-tutorial.git, obviously you’ll have to adapt these commands with your repository URL.
Install git if you don’t have it installed yet on your local machine : sudo apt-get install git
Now we will clone our empty repository (Note that we have added a “gh-pages” suffix, we will see later why) :
$ cd ~/git
$ git clone git@github.com:mgsx-dev/html5-game-tutorial.git html5-game-tutorial-gh-pages
Now let’s create the temporary web page and deploy it to github pages :
$ cd html5-game-tutorial-gh-pages
$ echo '<center><h1>Alpha version of the game available soon!' > index.html
$ git checkout -b gh-pages
$ git add .
$ git commit -m "temporary page"
$ git push -u origin gh-pages
That’s it, your website is fully operational now, check it at https://[account name].github.io/[repository name]. Again you need to change the URL with tour account name and your repository name.
Deploy the Alpha version
For this tutorial, we will use the same github repository for both the sources of our game and the deployed version but in typical case, you may want to keep your game source code in a private repository. So let’s clone our repository again but in another folder and on the master branch this time :
$ cd ~/git
$ git clone git@github.com:mgsx-dev/html5-game-tutorial.git
$ cd html5-game-tutorial
$ git checkout --orphan master
$ git rm -rf .
Our game source repository is now clean, so lets generates our alpha version of our game.
If you don’t have java 8 yet, let’s install it, recommended JDK is provided by Adoptium
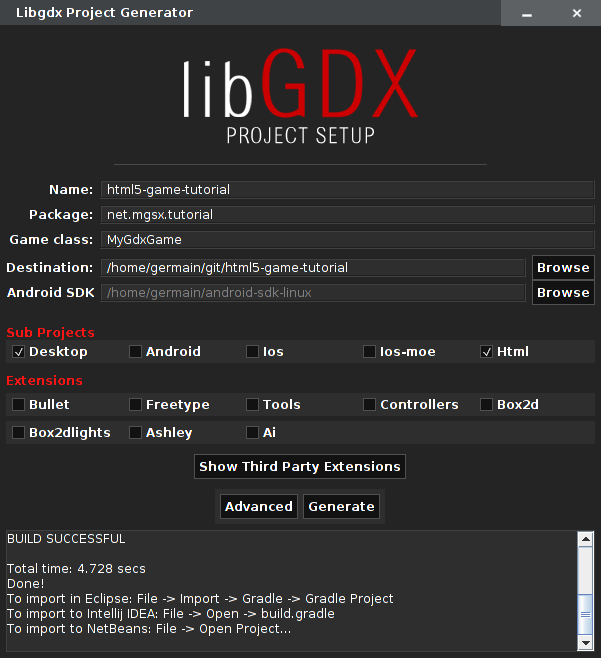
Libgdx provides a setup tool to generate project structure :
- Download Latest Libgdx setup tool and run it (you may need to mark it as executable in order to run it from file browser)
- In main section, just change destination folder to our project folder (HOME_DIR/git/my-gdx-game)
- Name : html5-game-tutorial
- Package : net.mgsx.tutorial
- Game class: MyGdxGame
- Destination : ~/git/html5-game-tutorial
- In “Sub project section” just select desktop and html. You could optionally select other targets like Android but it require extra configuration beyond the scope of this tutorial (install AndroidSDK …etc)
- In “Extensions” unselect all, we don’t need any libgdx extensions in this tutorial.
- Finally press generate (confirm folder override). It could takes some time upon completion, let have a coffee break ;-)
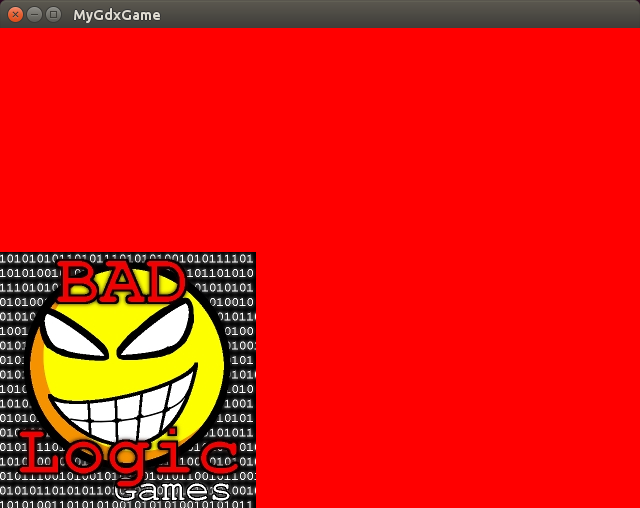
Let’s test the desktop version :
$ ./gradlew desktop:run
You should same thing as below … this is our game!
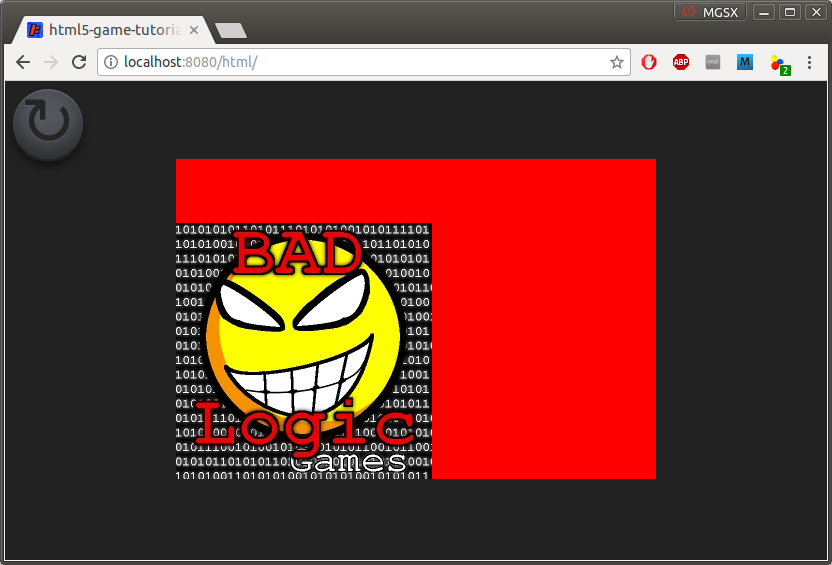
Now let’s test the HTML5/WebGL version. First compilation could take a while …
$ ./gradlew html:superDev
Now visit http://localhost:8080, you should see almost the same game. Default screen resolution for desktop and html version differs, we will fix it later, no time to spend, let’s deploy the game to the players, they surely like it!
First we generates the distribution :
$ ./gradlew html:clean html:dist
Then we copy it to our gh-pages working directory (removing some huge and unnecessary files) :
$ cp -a html/build/dist/. ~/git/html5-game-tutorial-gh-pages/
$ cd ~/git/html5-game-tutorial-gh-pages
$ rm -r WEB-INF
Let test it. Any static web server can be used here : nodejs, ruby, apache … since we like ruby here we start a server with ruby, if needed first install ruby and the sinatra gem :
$ sudo apt-get install ruby-full
$ sudo gem install sinatra
$ ruby -e 'require "sinatra";set :public_folder, "."'
Browse to http://localhost:4567/index.html we should have the same as before.
But what is this refresh button which doesn’t work ? Actually distribution contains all dev/debug stuff we don’t want for production, that’s why we removed the WEB-INF folder but we need to tweak things a little more :
- edit the index.html file and remove the button (the ugly a tag)
- remove the refresh.png file
- edit the style.css file and remove all superdev classes.
- Refresh the webpage, it should be better.
We’re happy now but before publishing the game, it’s recommended to commit and push our current work. This will be better to track down bugs and versions of our game. So let’s push our game :
$ cd ~/git/html5-game-tutorial
$ git add .
$ git commit -m "libgdx project setup"
$ git push -u origin master
Now it’s time to deploy our game!
$ git add .
$ git commit -m "alpha version"
$ git push origin gh-pages
Now browse again to https://[account name].github.io/[repository name] and see the result, it should be the same as in local.
That’s good … but players will soon complains about the leak of interactions in your game and above all about the window size! We’ll see in the next episode how to fix this and how to handle updates correctly…
At this point you may want to read the official documentation in order to dive in the specifics.